How to Draw a Rocket Ship Step by Step How to Draw a Rocket Step by Step Easy
This tutorial shows how to draw a cartoon rocket in eight steps. It provides simple drawing examples with quick explanations for each of them.

Start the rocket drawing in pencil and make light lines. This will make it easier to fix any mistakes and will help you erase a tiny bit of the rocket when drawing it's middle fin.
You can darken your lines afterwards with a pen/marker or just by tracing over your drawing with the pencil.
Step 1 – Draw the Shape of the Rocket

Start by drawing the main shape of the rocket. As shown in the example above it should be fairly wide around the upper middle with a pointy tip and flat bottom.
Step 2 – Drawing the Fins

Onto the rocket add the fins. The two fins on the sides should pretty much be mirrors of one another drawn as shown in the example with the middle fin looking pretty much looking like a very stretched oval with a slightly wider top. As mentioned earlier you can erase a tiny bit of the bottom of the rocket and draw it in.
Step 3 – Drawing the Window

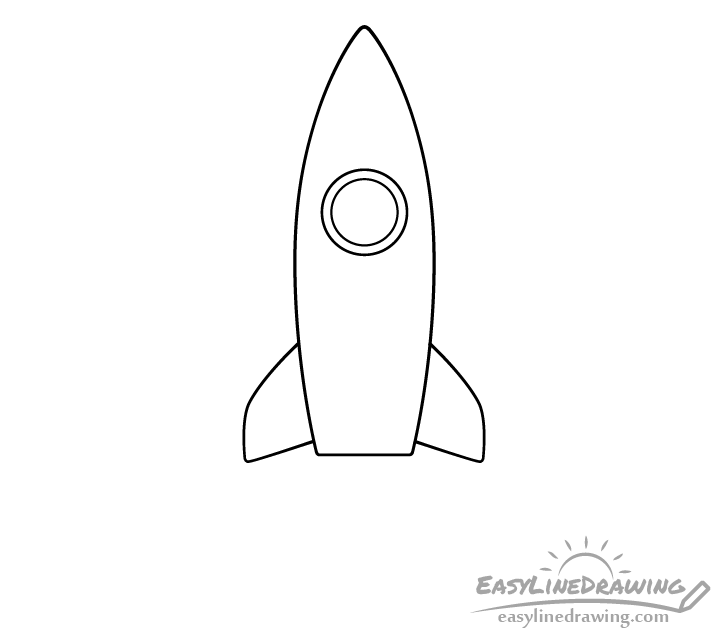
Near the upper middle of the rocket (it's widest area) draw the window of the cockpit. This should just be a circle in shape.
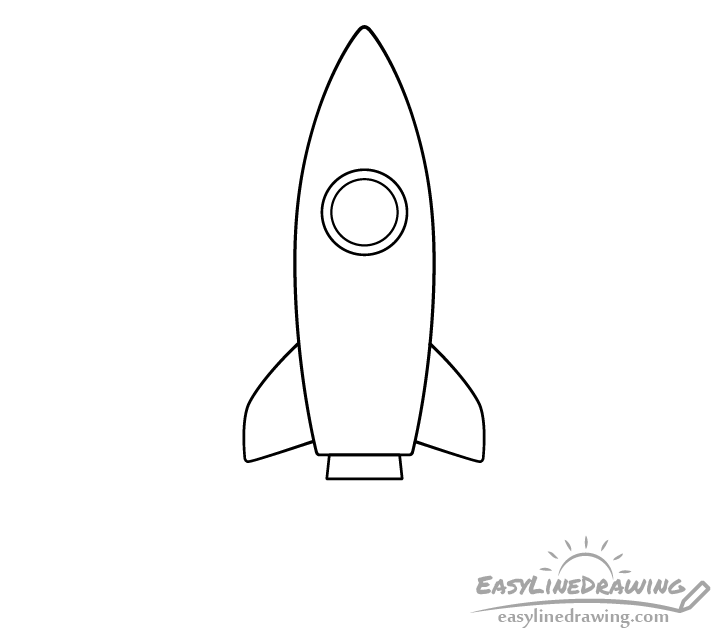
Step 4 – Draw the Exhaust

At the very bottom between the fins draw the exhaust making it wider towards the bottom of the drawing.
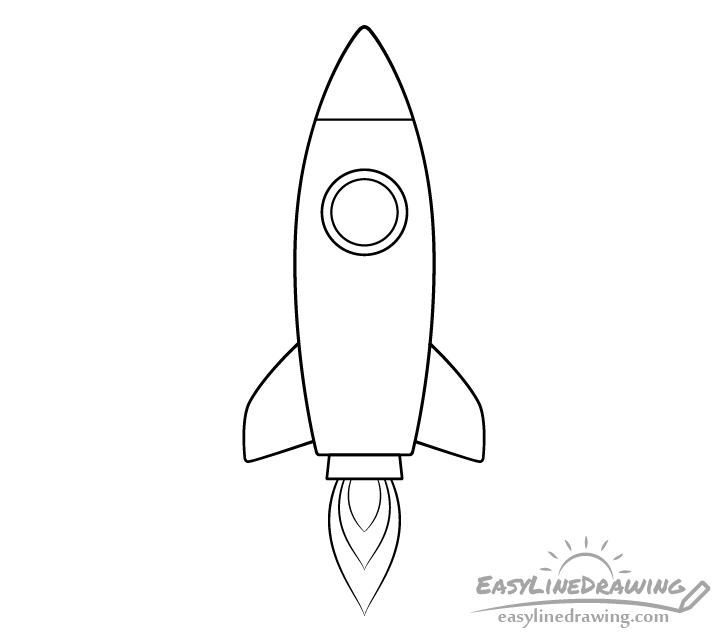
Step 5 – Draw the Details

Draw in the pattern of the rocket which will help color it. In this case it will just be two straight lines. One for the tip of the rocket slightly above the window and one slightly above the fins for it's bottom.
Next inside the window draw another smaller circle as shown above. This will create a sort of frame around the glass part.
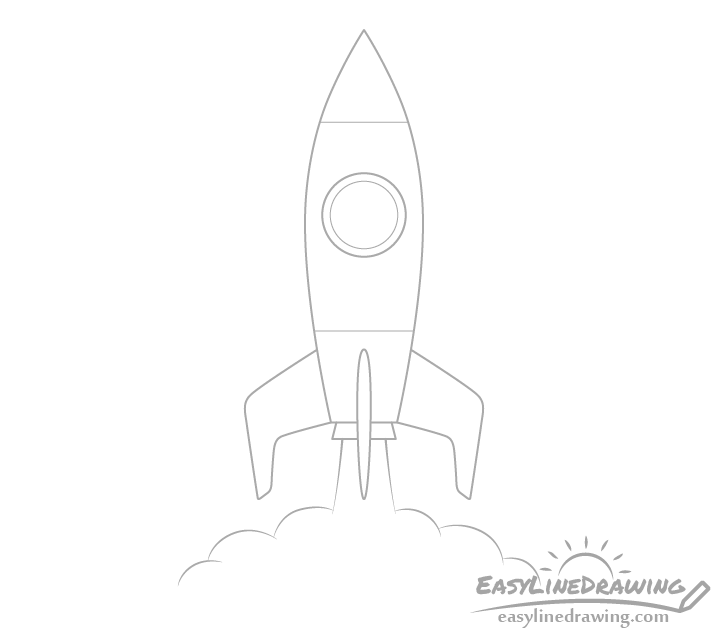
Step 6 – Draw the Smoke

To make the rocket look like it's taking off add some smoke going out of the exhaust. At first draw it as pretty much one stream of smoke that then transforms into a sort of cloud.
You can show the cloud shape with just a few randomly sized curves as shown in the example.
Step 7 – Finish the Line Drawing

Finish the line drawing of the rocket by adding a few more curves to the smoke cloud and afterwards trace over your drawing with either a black pen, marker or darken the lines with the pencil.
Step 8 – Color the Rocket

To color the rocket you can use any colors you like but a good combination is red, while and blue along with some grey. You can use pencils, markers or paints but it may be a good idea to just use a regular pencil for the smoke. This way you can shade it darker towards the exhaust and lighter towards the bottom of the drawing to make it look like it's dispersing.
In this case the rocket will be colored as follows:
- Red tip
- Blue window (leave a small white highlight) with a grey frame
- Grey bottom and exhaust
- Red fins
- Grey smoke
As mentioned you will want to leave a small white highlight (light reflecting from the window) when coloring the window to make the glass look shiny.
Conclusion
A cartoon rocket like this one can be fairly fun and easy to draw. Adding some basic smoke effect will also help the drawing look a little more interesting.
For more similar tutorial also see:
- How to Draw a Fighter Jet Step by Step
- How to Draw an Airplane Step by Step
- How to Draw A Boat Step by Step
- How to Draw a Cartoon Car in 12 Steps
- How to Draw a Light Bulb Step by Step
- How to Draw a Mobile Phone Step by Step
- How to Draw a Shield Step by Step
Source: https://www.easylinedrawing.com/how-to-draw-a-rocket-step-by-step/
0 Response to "How to Draw a Rocket Ship Step by Step How to Draw a Rocket Step by Step Easy"
Publicar un comentario